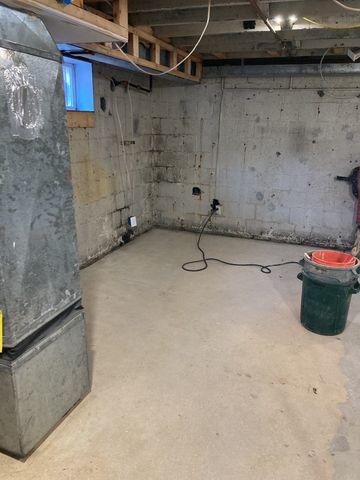
WaterGuard XL Installation Begins
The perimeter of the basement is opened up and a trench is developed with a jackhammer. This trench is where the WaterGuard XL pipe will reside.
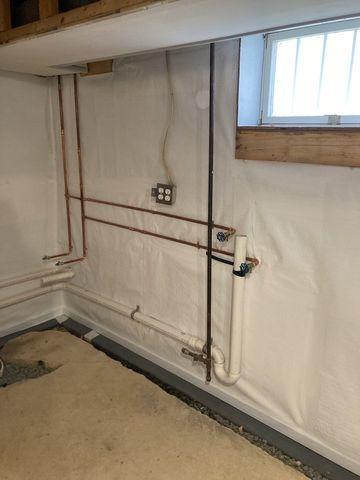
WaterGuard is Placed
The WaterGuard is carefully set in place and back filled with stone.
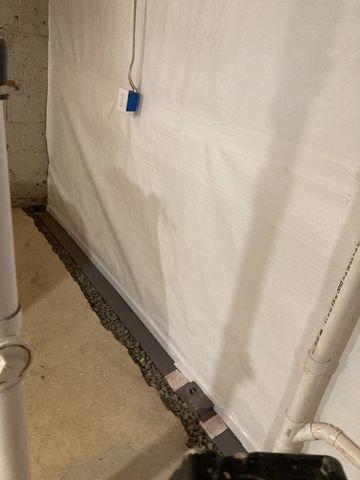
WaterGuard XL Interior Basement Drainage System
Water enters the system via inlet holes and flows through the drainage pipe to the sump pump.
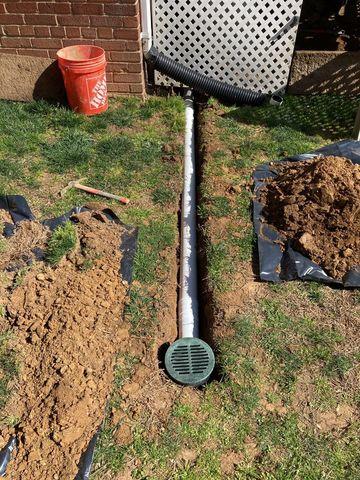
LawnScape Outlet
The sump pump discharge line connects to a special LawnScape Outlet, sending water away from the foundation while camouflaging the end of the pipe.
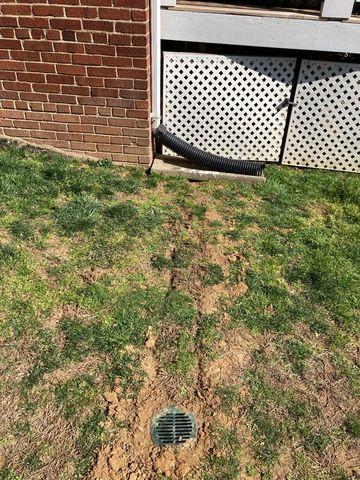
Discharge Line
Once the Lawnscape Outlet is properly installed, the trench is backfilled.
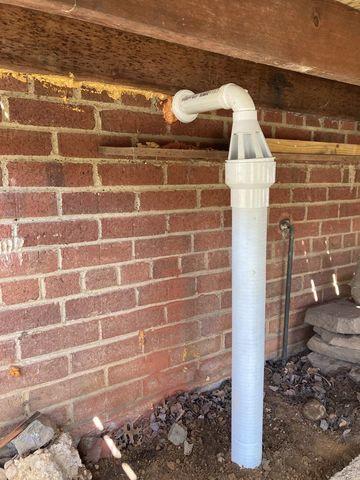
IceGuard Installation
The IceGuard Discharge Line is the perfect solution to the unfortunate problem of clogged and frozen discharge lines. This product ensures the sump pump system will stay protected and work properly.
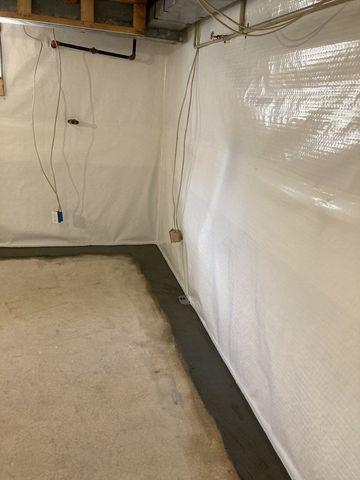
Restored Floor
Back inside the basement, concrete is poured to restore the floor.
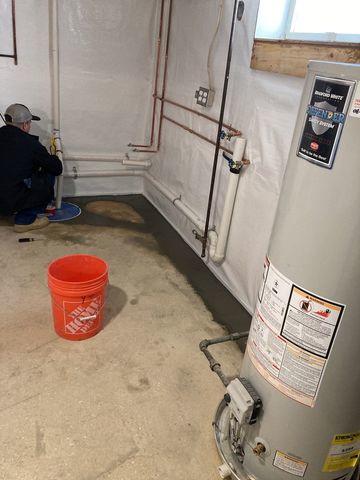
SuperSump Installation
An effective basement waterproofing system depends on a reliable, long-lasting sump pump. Here you see a 3 Pros Basement Systems crew member working on the installation of our premier sump pump system- the SuperSump.
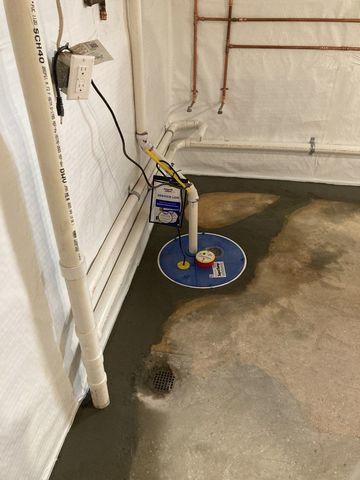
SuperSump Installation
This top-rated 1/3 HP Zoeller cast iron pump offers reliability and high-volume pumping. It has built-in alarms when the water level rises too high and a strong airtight lid that is child-safe and keeps out insects, odors, and radon gas.
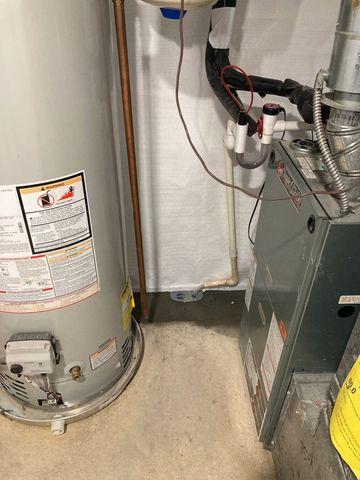
WaterGuard Port
In the middle of this photo, you can see the WaterGuard Port. This allows an easy check of the drainage. All of these products are patented and award-winning! Now, these homeowners can rest easy knowing that their basement will stay dry in all four seasons without difficulty.
